Using your own email address
Build trust with your customers that the ID check sent to their email address is associated with your store by using your own dedicated support email address.
For example, Real ID can use your dedicated support email address like [email protected] to send ID checks to customers.
You can easily add your own email address to Real ID without making any code changes or changes to your DNS settings. We just send a confirmation link to your email address, after clicking it ID checks will be sent from your email address.
Getting Started
To get started, first open up Real ID and navigate to Settings. Once you have your settings open, select the Notifications tab, and make sure you're within the For Customers section to see your email settings for customers.

Scroll to the Send ID checks using your email address section.
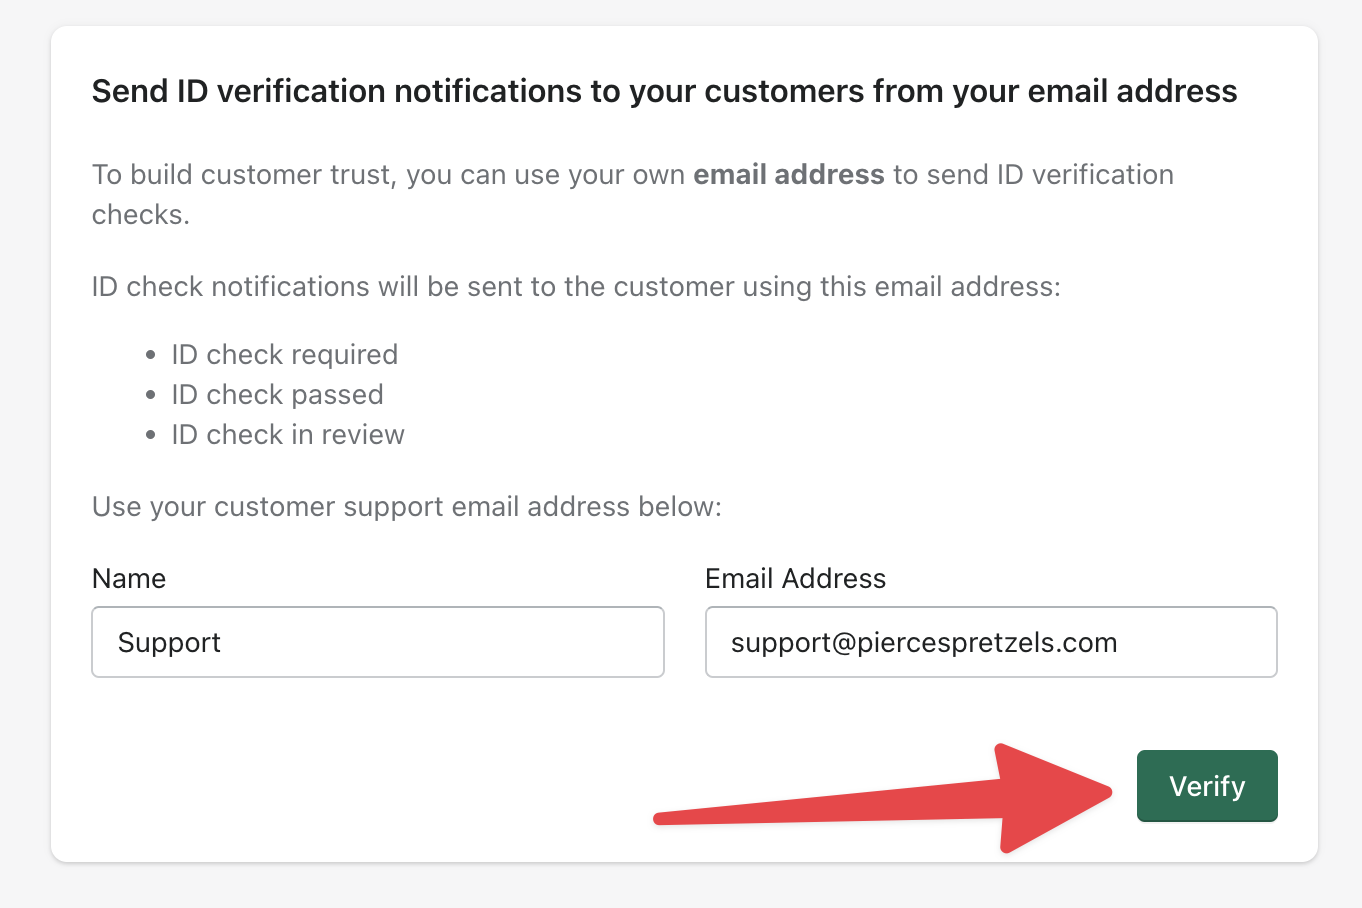
Here you can enter in the preferred name and email address you'd like to use to send ID checks.
After entering in your preferred email address & name, click Verify.
You will receive an email to that address from Postmark which is our email provider. Within that email will be a link to confirm your ownership of that account.
It may take a few minutes for the verification email to appear. If it's still not in your inbox, check your spam folder.
If you're still having issues finding the email, please contact us.
Click the confirmation link and your will prove ownership of the account.
Last step, return to Real ID and click the "Check verification status" button. Real ID will now send emails to your customers using your own email address! 🎉
You cannot use public email domains like gmail.com, hotmail.com or outlook.com with this feature.
It is not possible for us to verify these domains, you'll need to use a privately owned domain.
Verifying DKIM Records
For best results, we highly recommend adding DKIM DNS records that help improve the reliability of your emails.
After you've verified ownership of the email address, two DNS records will appear beneath the same Use your email address section in the Notifications settings:

Click each record's Host and Value fields to automatically copy them to your clipboard, and paste them into new DNS records.
After you've added the DKIM and Return Path DNS records, click the Verify button within the Real ID app to verify the new DNS records.
Then your DNS records will be verified and this will ensure the best deliverability for your ID checks to customers.

It may take up to 72 hours for DNS records to change. If your DNS records fail to verify after checking for typos, missing characters, or extra spaces, then please try again later.
Frequently Asked Questions
This feature is locked on my account. How can I enable it?
This feature is for Business plan subscribers. Upgrading your subscription to Business will unlock the feature. If you need help doing this please contact us.
I'm getting an error when trying to submit my email
Please note: we can only use private email domains. Public domains like gmail.com, hotmail.com, or apple.com are not supported. If you're using a non-public email and are still having issues, please contact us for support.
Our Real ID customer emails are being sent to spam
If you haven't yet, set up DKIM DNS records on your domain.
This helps improve the trust for email providers like Gmail, Yahoo and Outlook.